So here are the other Queries related to this Topic …..
- How Submit your website sitemap to search engines ?
- How to Submit sitemap to Google Search Console ?
- How to Submit your Yoast SEO sitemap to Google Search Console?
- How to Add An XML Sitemap Using Yoast SEO Plugin.
- How to Create an XML Sitemap YOAST SEO TUTORIAL.
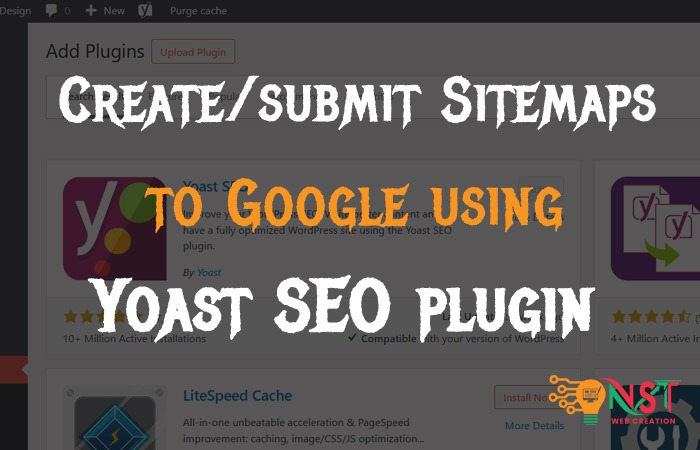
In this article, we’ll show you how to easily create a XML sitemap using Yoast SEO wordpress plugin..
How to Create an XML Sitemap using YOAST SEO Plugin Tutorial Steps:~
Login to your wordpress website and install the plugin Yoast SEO and activate it.

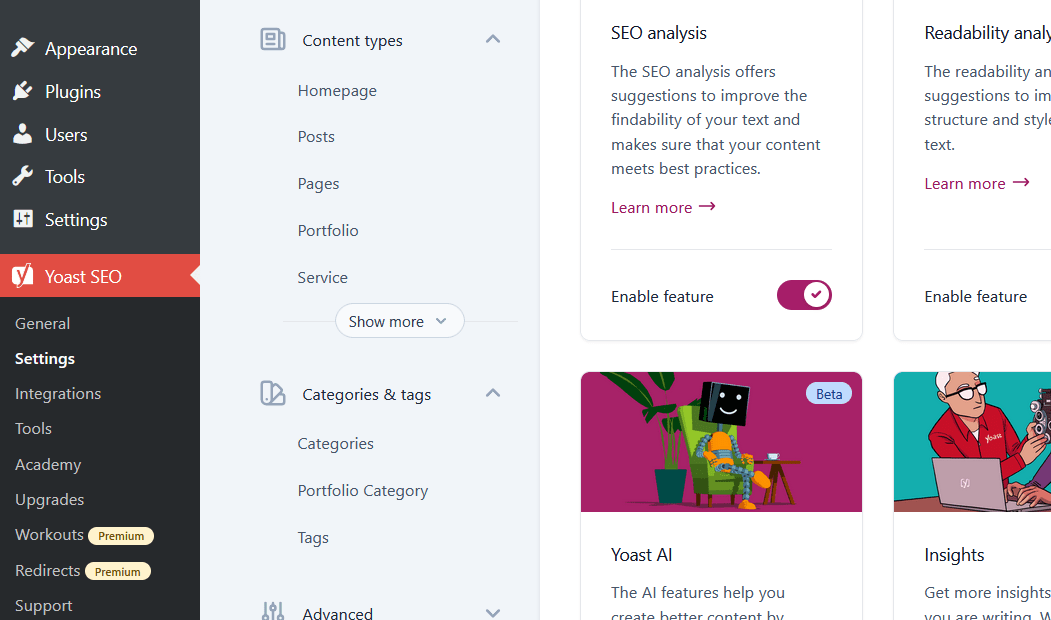
if you already installed it then go to Yoast SEO Settings page.
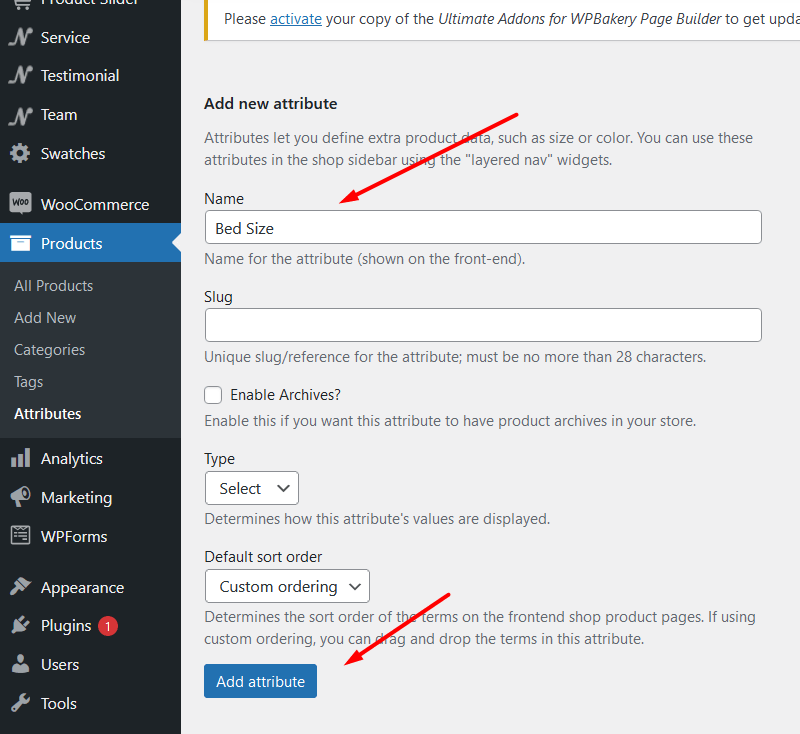
Next step is to scroll down here XML sitemaps and turn on the feature like the screenshot below…
Also you can view the sitemap by click on View the XML sitemap button ..
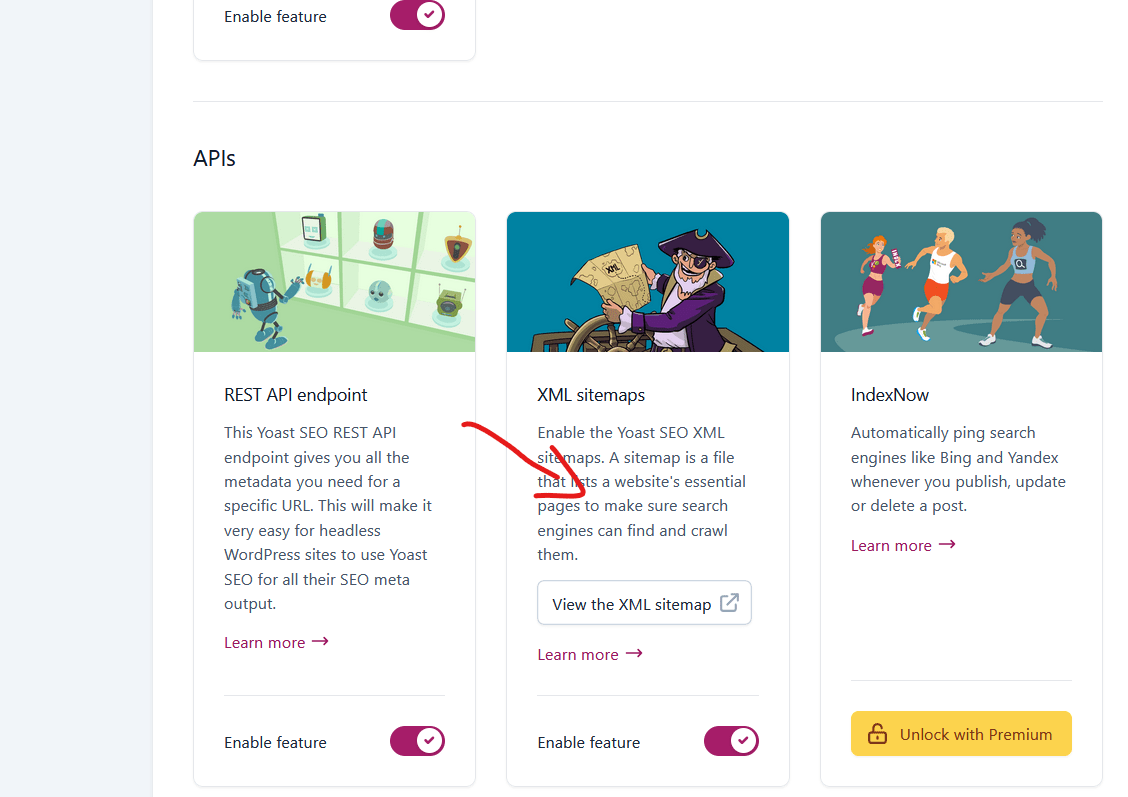
After click on View the XML sitemap button Next window will be like this… this will show you the path/link of your website sitemap.

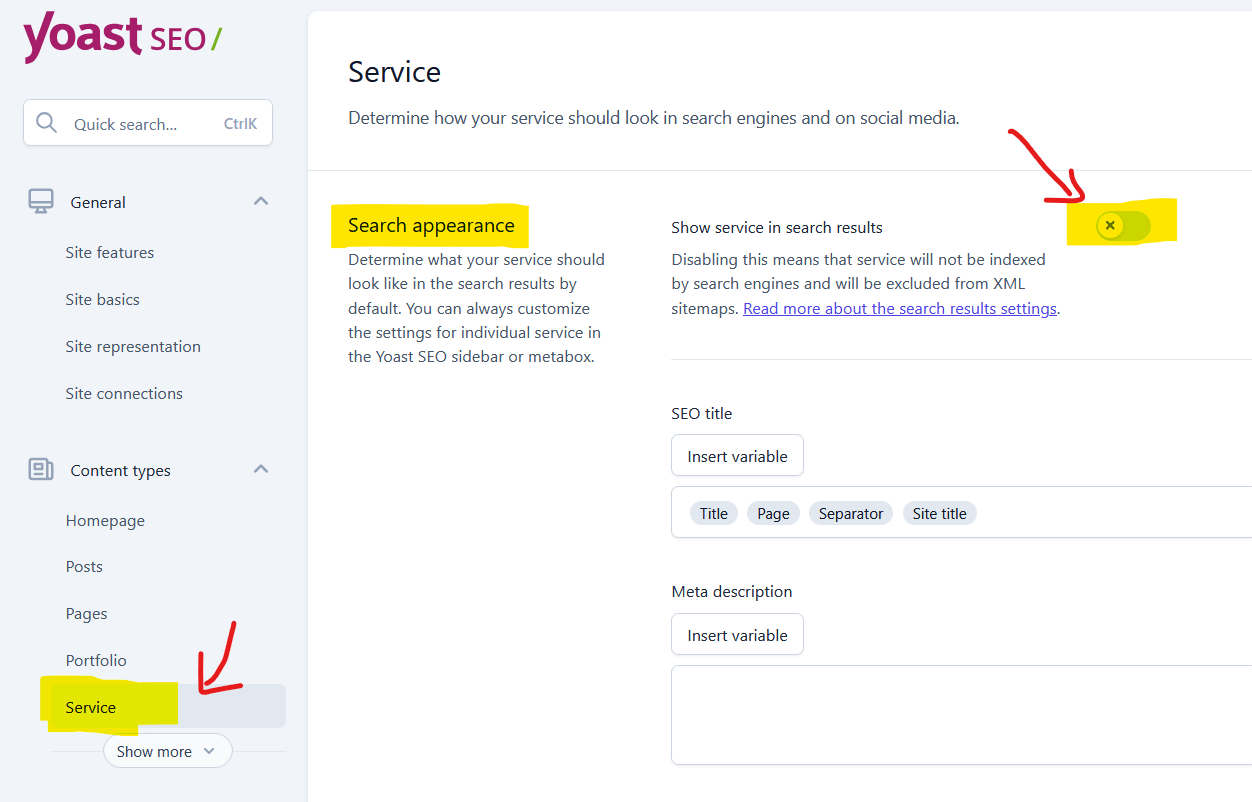
Also you can hide the the things you don’t want to be index on google by click on post types or categories or authors etc.. like if you don’t want to index or hide some custom posts from the google search appearance then simply turn the option OFF like below … i am hiding here my Service posts from the google sitemap.. now this type of posts will not send to google search page.
Like this you can create the sitemap for your website using Yoast SEO plugin..
Now the next step is to submit this sitemap to google or google search console..
How to submit your sitemap to Google Search Console..
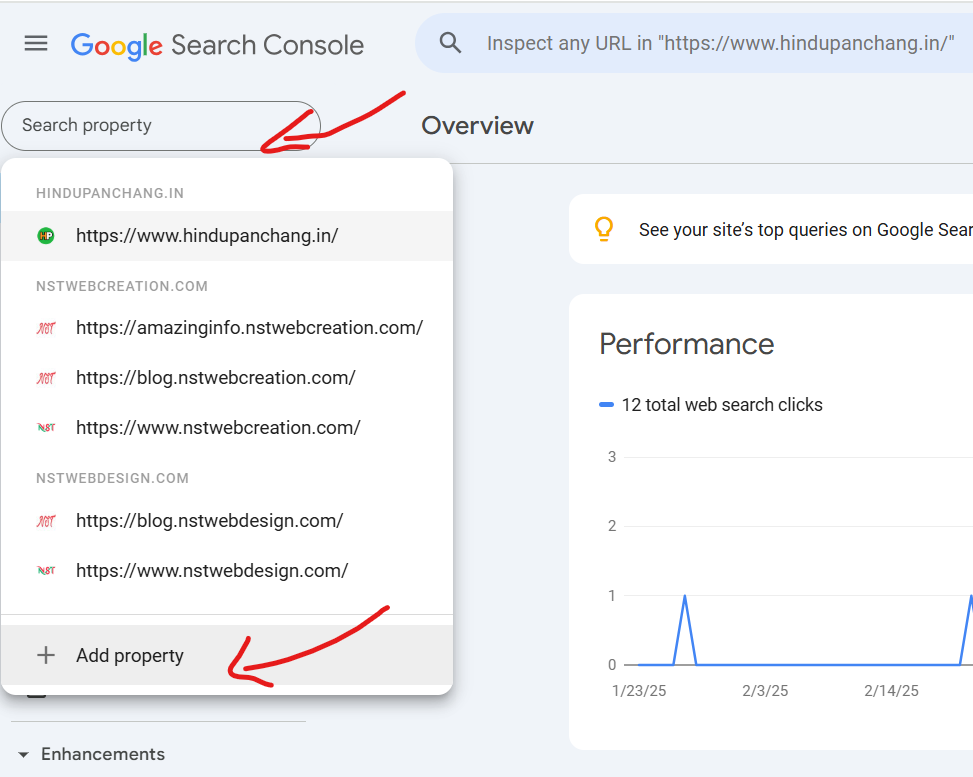
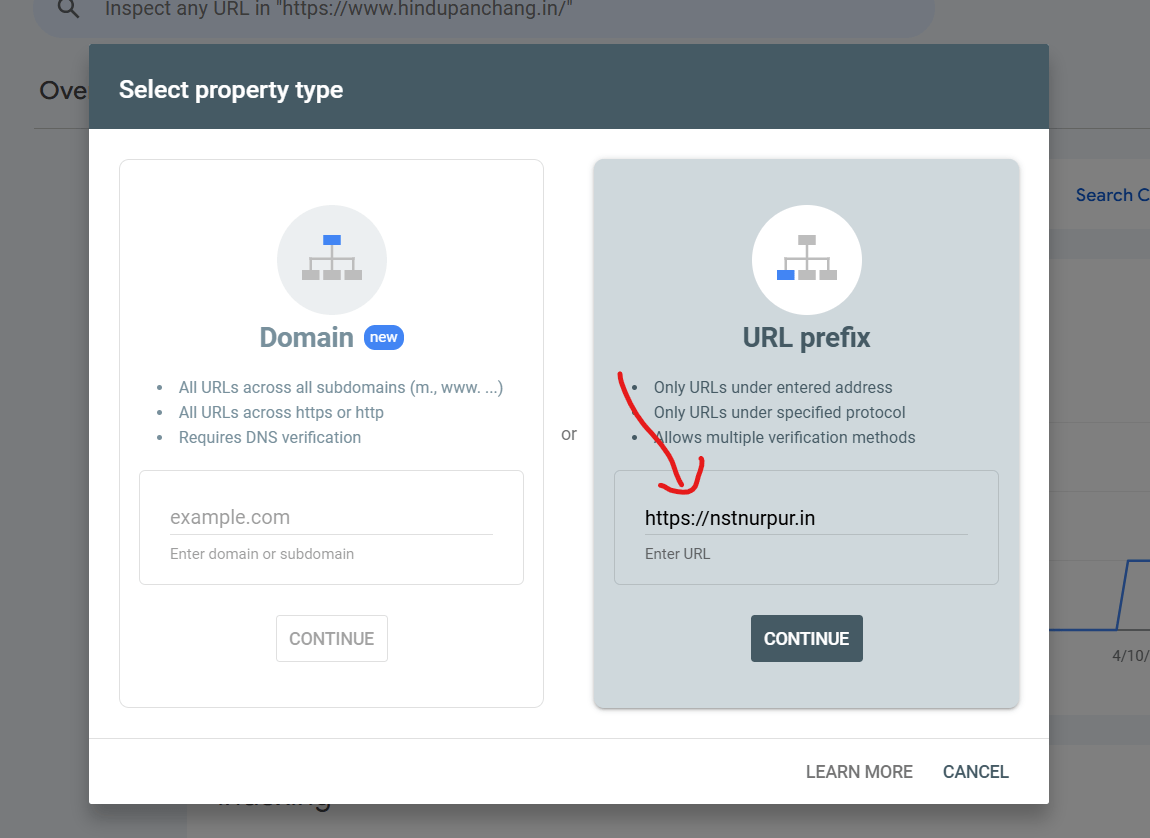
First step is to Sign in to Google Search Console using the link and after that … on left side of window you will find search box like this.. click here and then click on to + Add property .. button to add the property there if it is not listed there.
Next window will be like this… enter your website url here…and click on CONTINUE button..
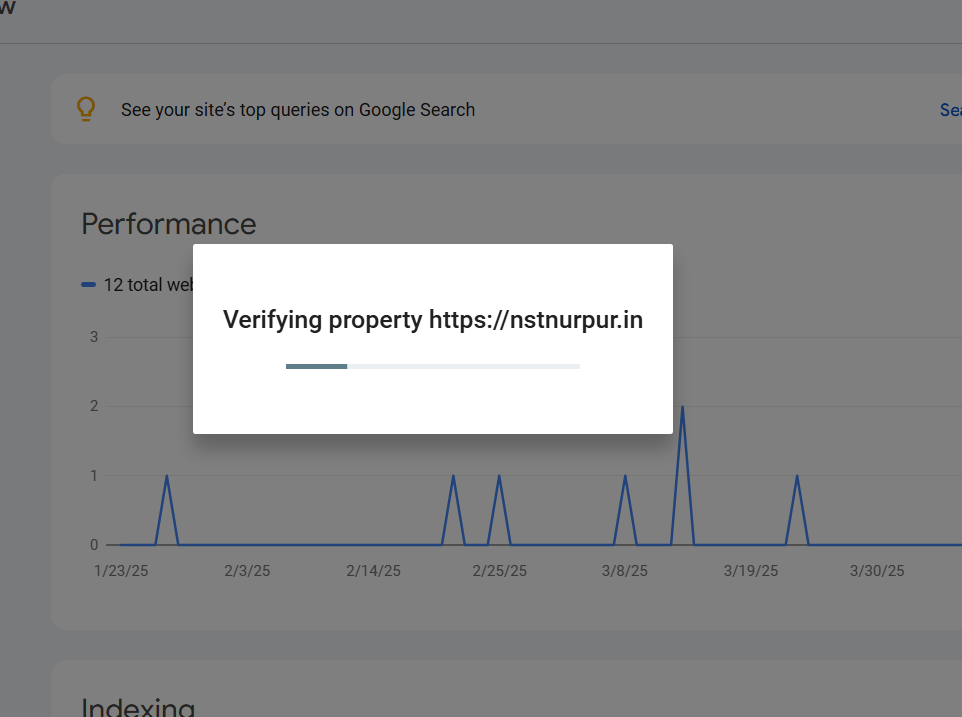
Next window will be like this…
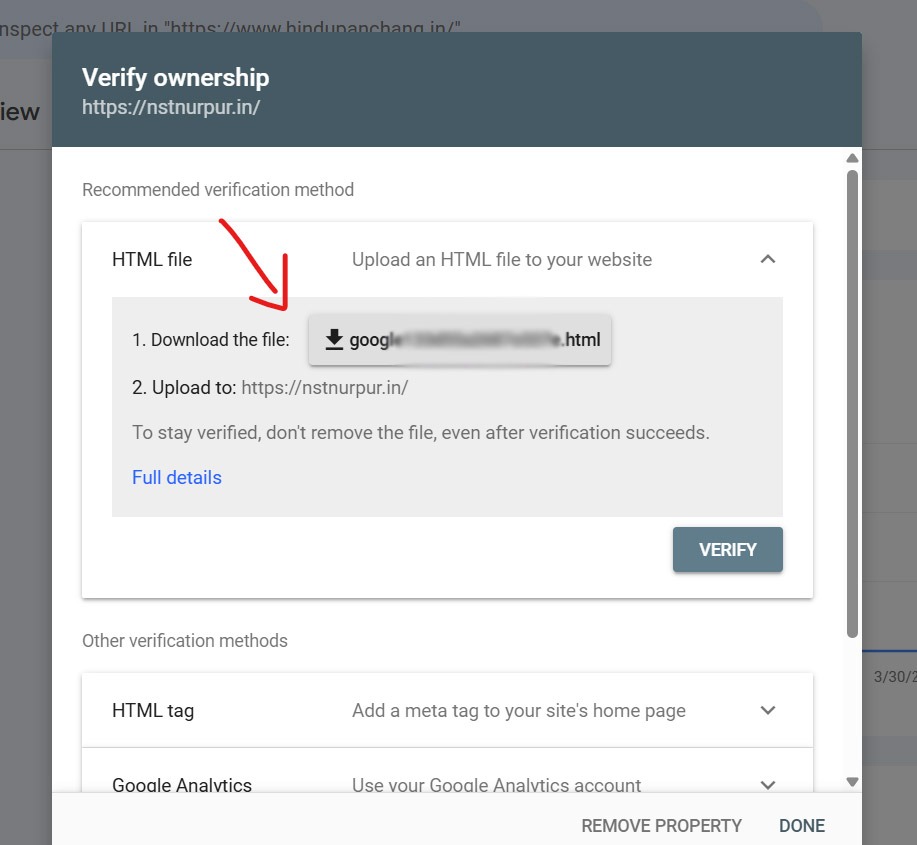
Next window will be like this.. download this file and save it … don’t change the name of the file.. just save as it is… we have to upload this file to domain cPanel… where this site is hosted.. under root directory..

Like this .. login to your website cPanel .. or you can use FTP too to upload the file…
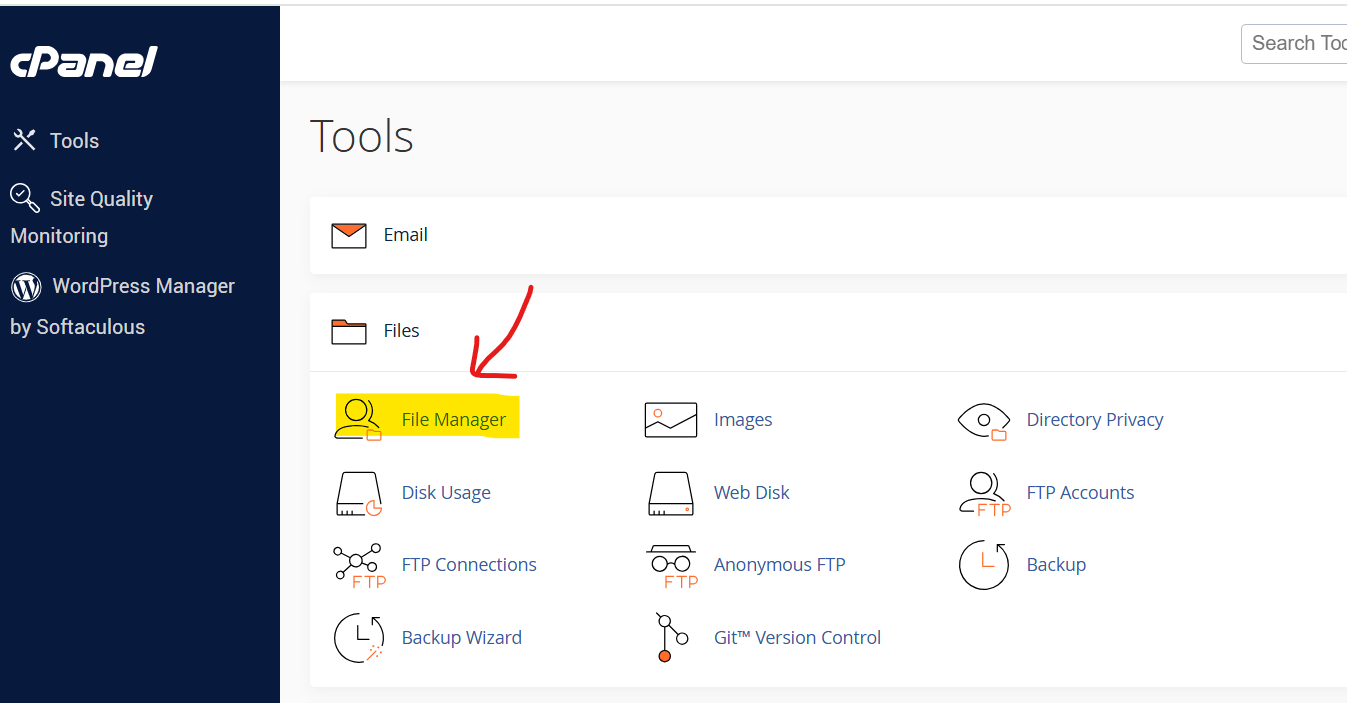
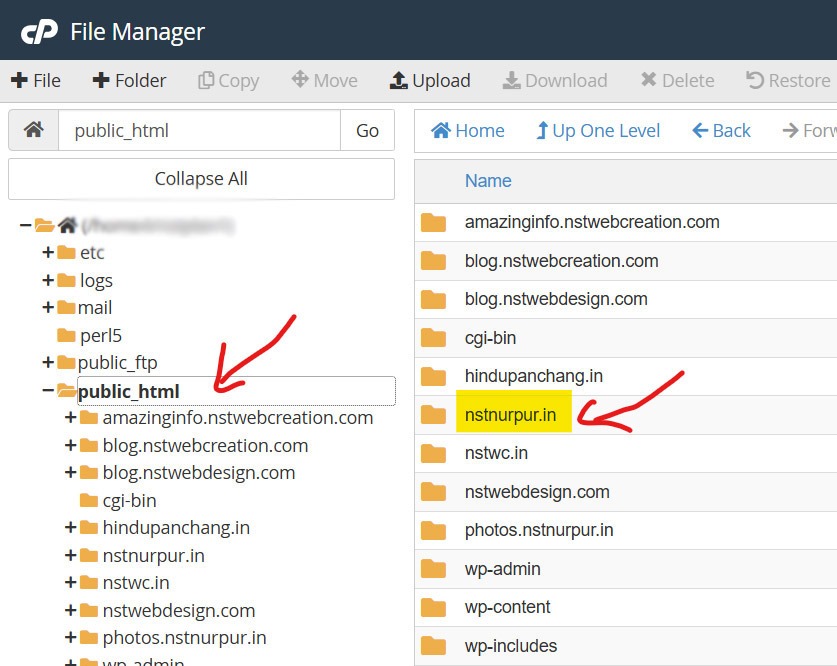
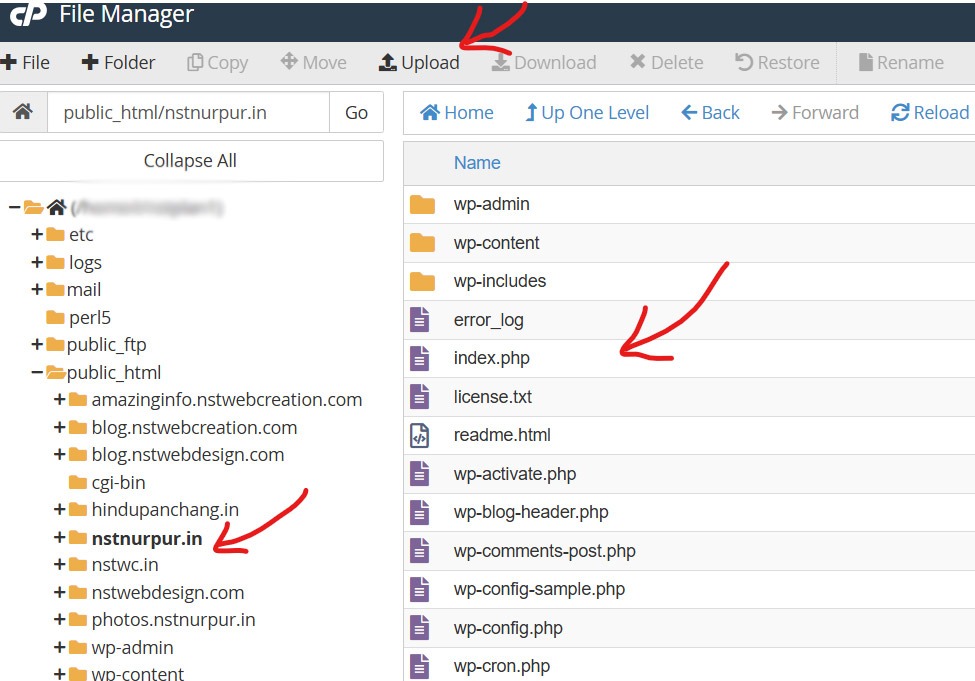
Go to File Manager.. Click on Public_html and upload your file here if the domain is primary domain.. otherwise upload the file under that domain folder.. in my case my domain is not primary.. so i am uploading that file under folder nstnurpur.in .. like below…
Next is.. to upload the file click on Upload button like below..
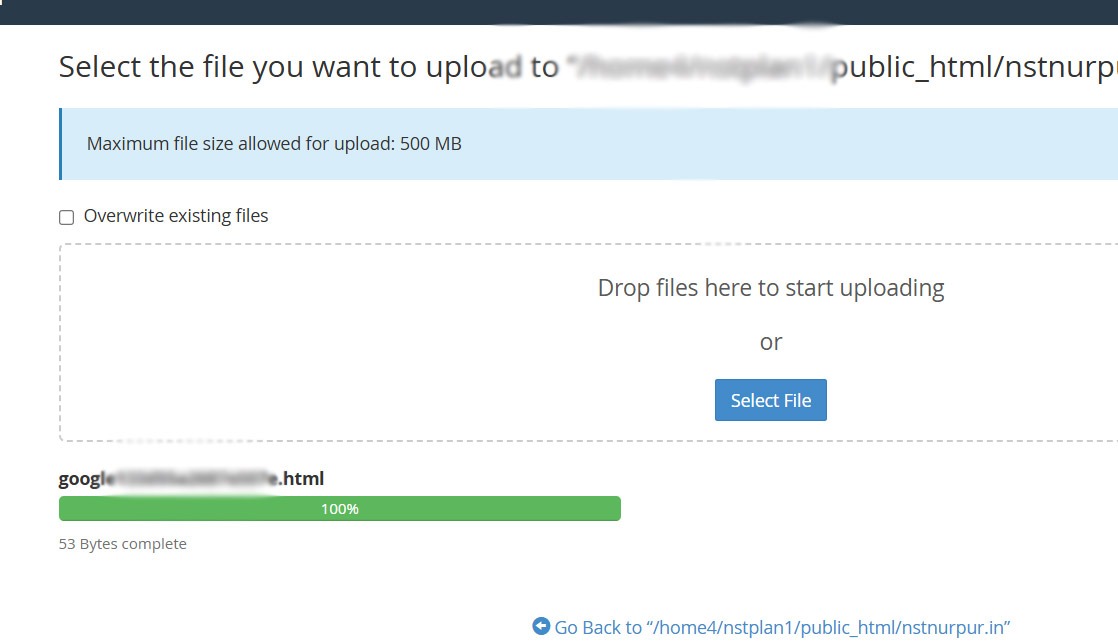
Next… upload the file you saved before…
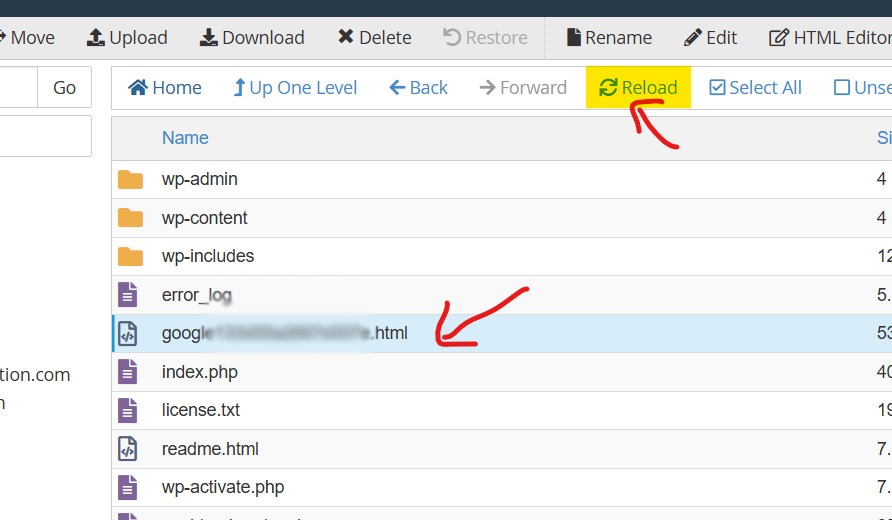
After successfully uploaded.. click on Reload link here .. file will be here..
Okay next steps is to go back to the google console page where you downloaded the file.. Now click on Verify button..
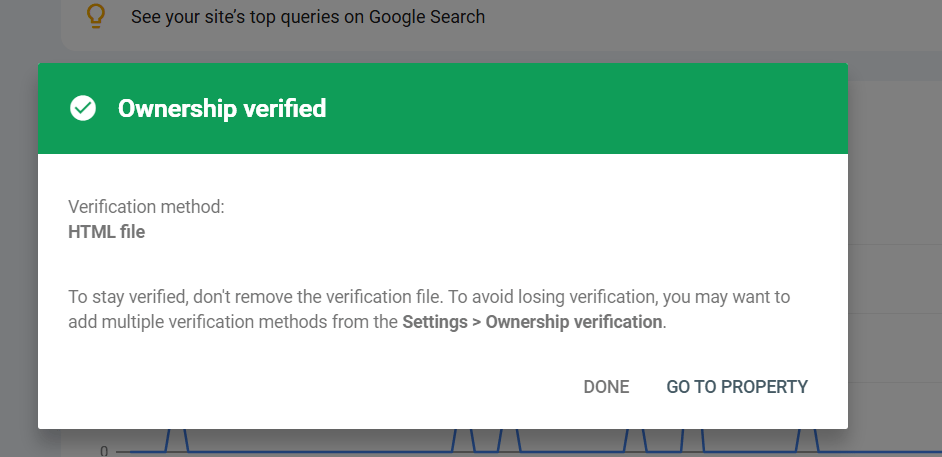
After click ..

After this.. new window will be like this… Click on GO TO PROPERTY link …
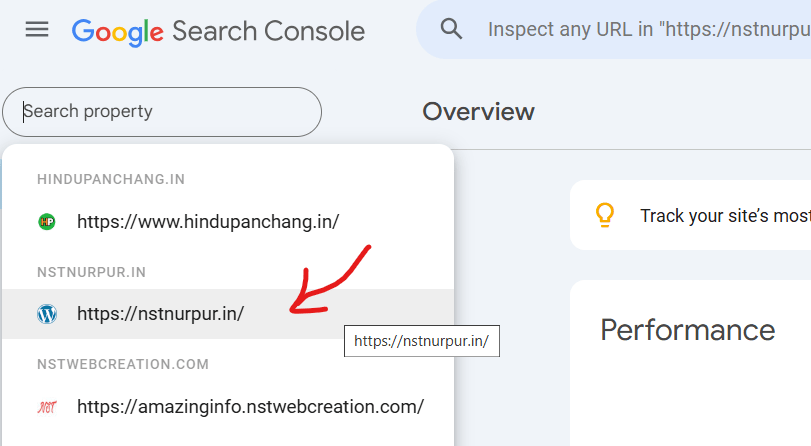
Next .. Your domain Property is listed now .. click on this..
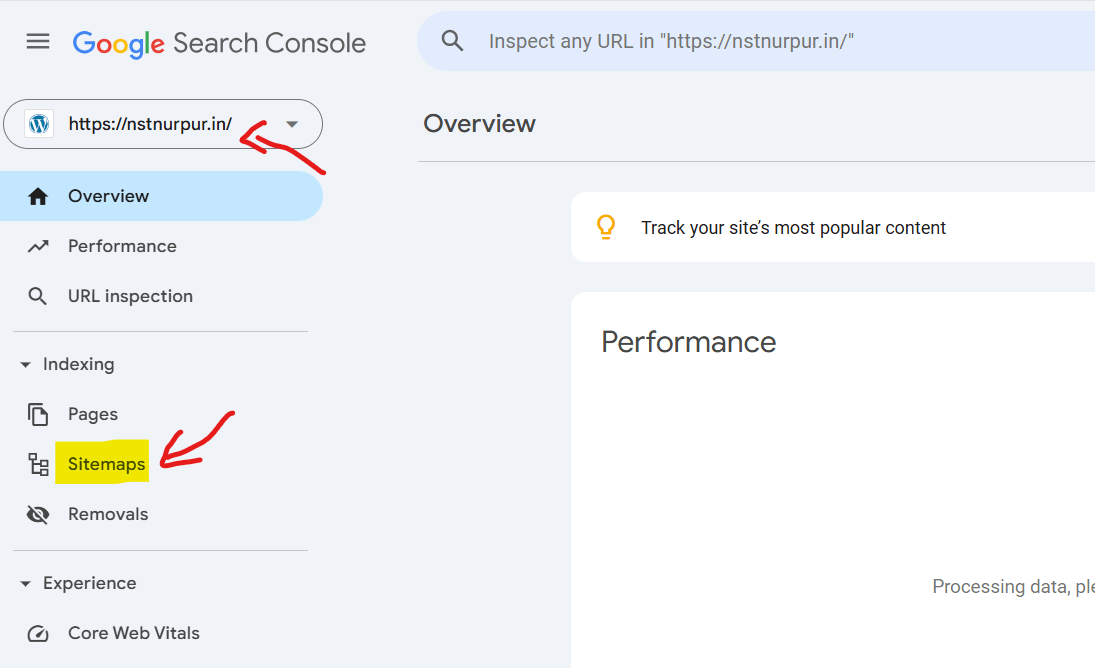
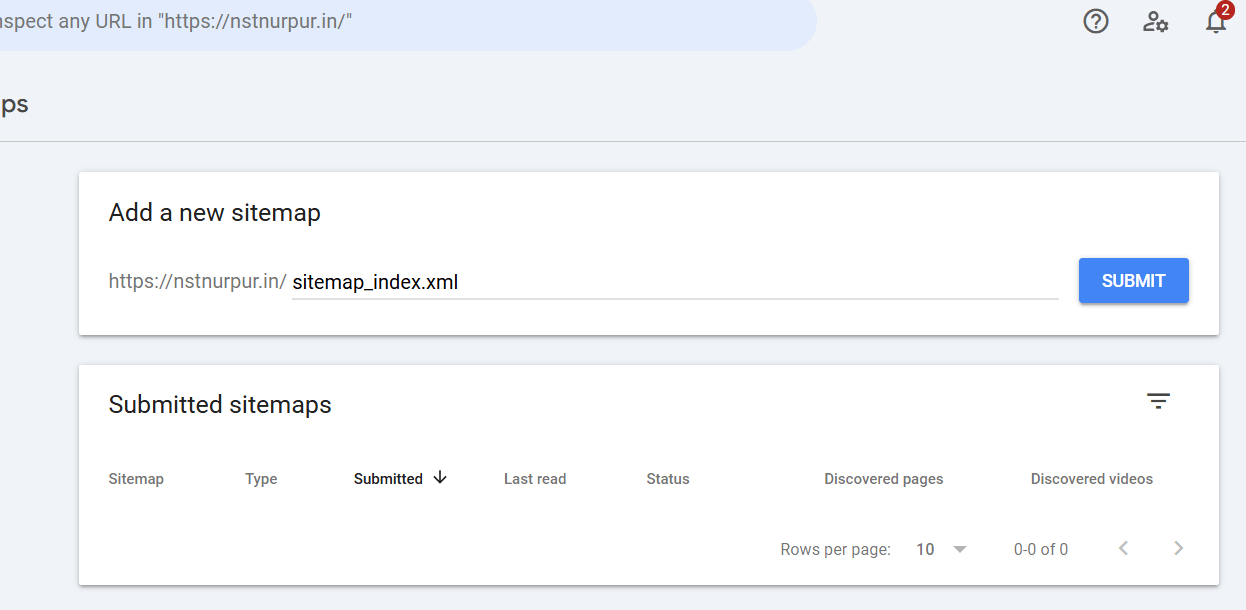
Next Click on Sitemaps…
Next .. Enter your sitemap url here from Yoast SEO ..
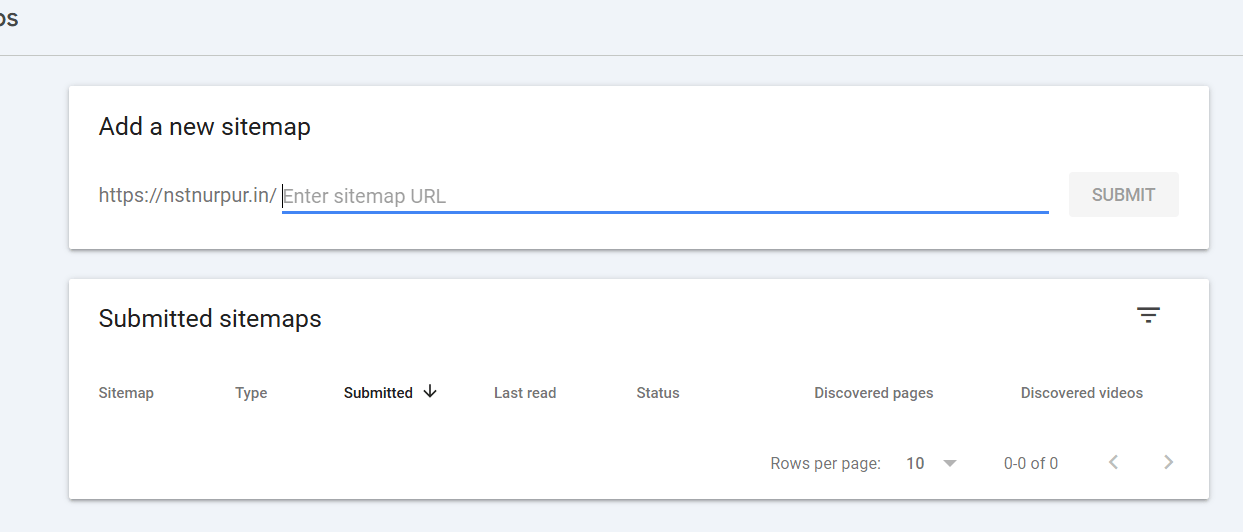
Sitemap url will be like “sitemap_index.xml“
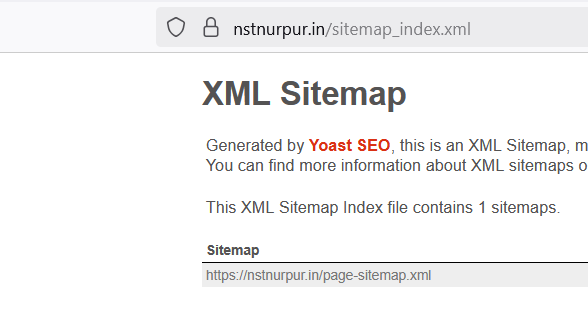
Add sitemap url … like below..
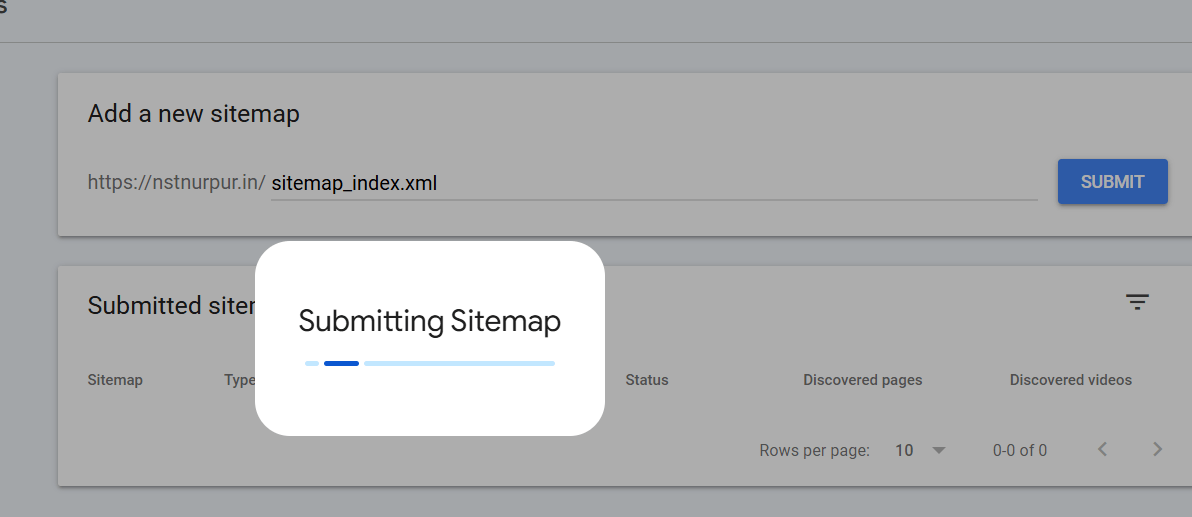
Next .. submitting sitemap
After that.. its submitted successfully…
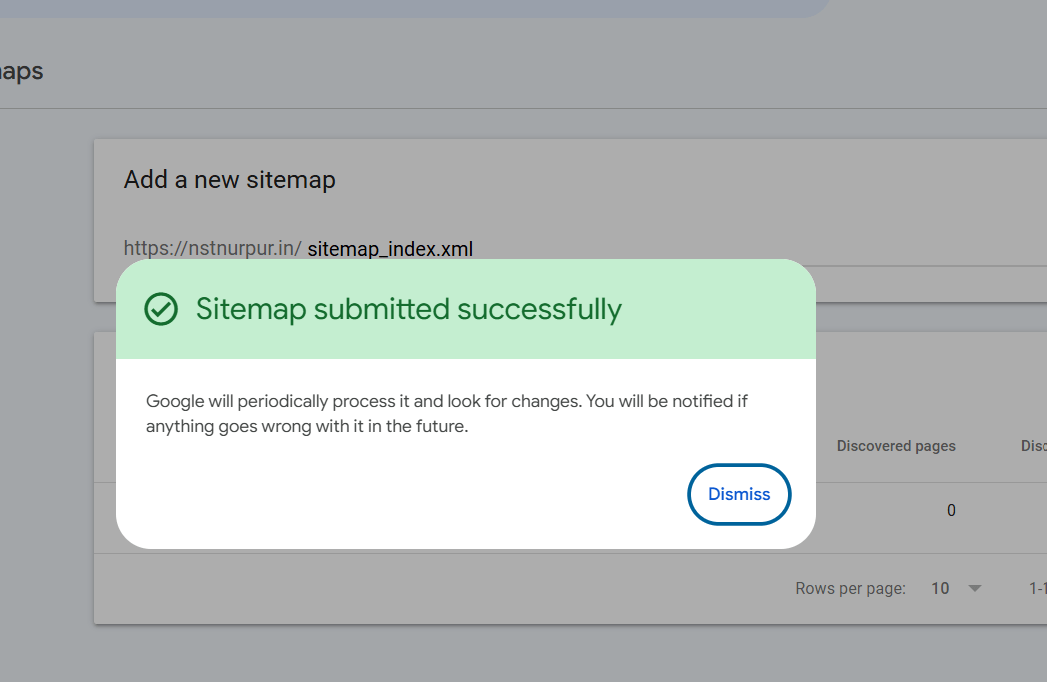
Next .. After refresh window it will show that the sitemap is successfully submitted…
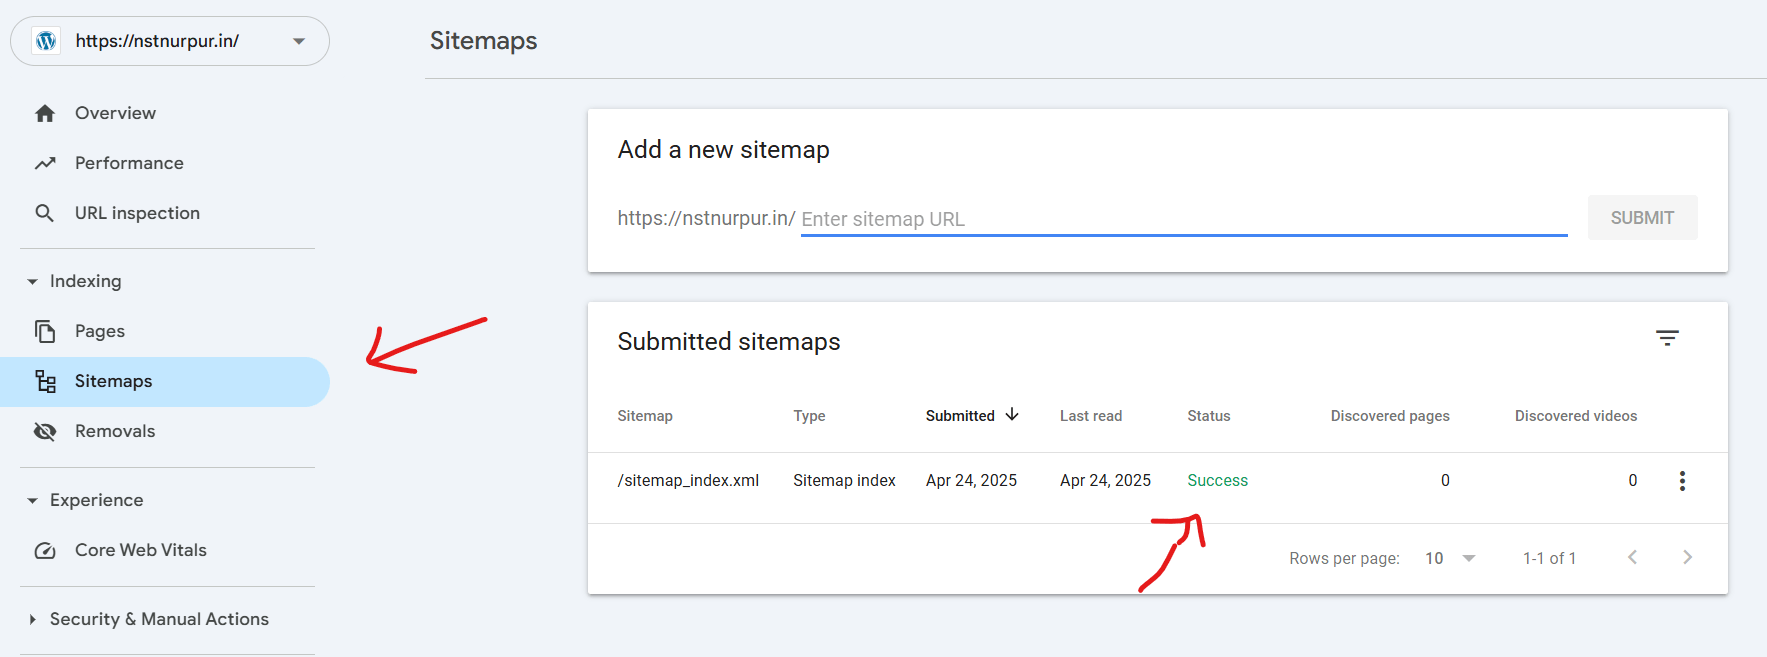
Like this you can submit your website sitemap to google console…..
You can check the result by typing site:(your-domian-name) … like .. site:nstnurpur.in on google search page.. like below..
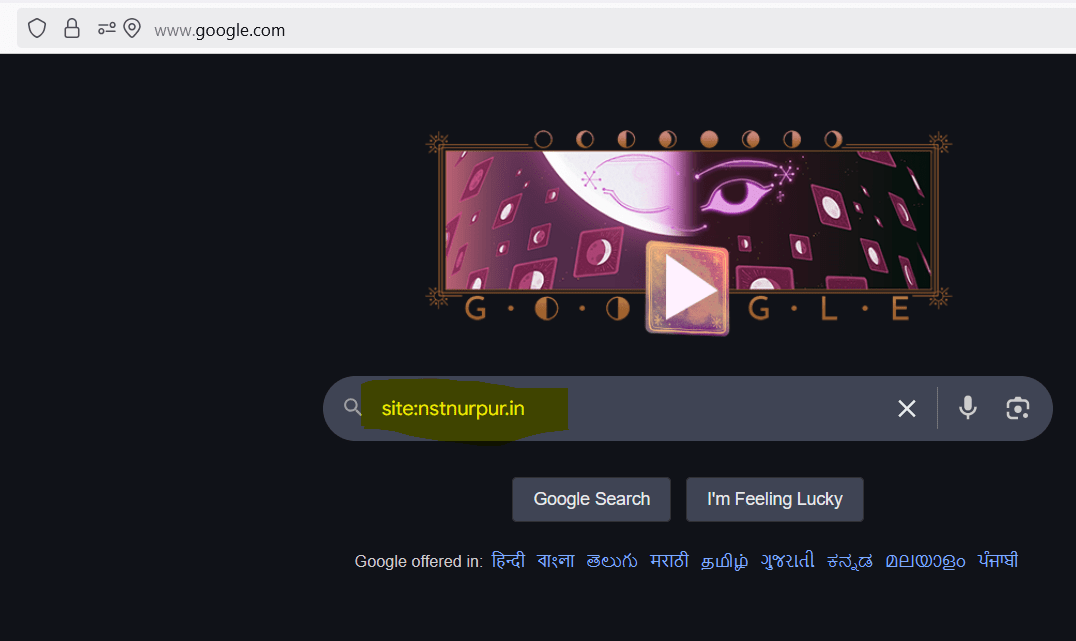
As a result you will see the all the pages you submitted to google..

Like this you can do create and submit the website sitemap to google ..
You can also submit this sitemap to other search engine websites too .. like Bing , Yahoo etc..
If you need any further help please contact me with using contact form other way i added in the website.
Thanks 🙂