How to properly add style and script to your wp website using functions.php file ?
Sometime we want to add CSS or JS to front-end of website without editing the parent theme files. like header.php or footer.php
So here is the simple function that help to add or apply your custom CSS code or js code to your front of website.
So here is code to add custom style to your website.
Note: Create a folder in your activate theme ( if not there ) with name CSS and a new file under that folder with name custom.css … so path will be like /css/custom.css .
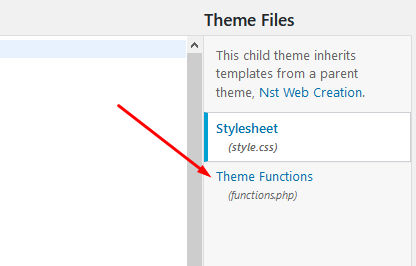
Now add the bottom code in you functions.php file and hit on save button.
<?php
function nst_custom_css(){
      $nst_csssrc = get_stylesheet_directory_uri() . '/css/custom.css';
      wp_enqueue_script( 'nst_custom_css', $nst_src , array(), '1.0',  false );
}
add_action( 'wp_enqueue_scripts', 'nst_custom_css' );
?>
Now you can add your custom styles in your new file. 🙂
Now the way to add Js code to your wp using functions file…
Like above
Note: Create a folder in your activate theme ( if not there ) with name JS and a new file under that folder with name custom.js … so path will be like /js/custom.js .
<?php
function nst_custom_js(){
      $nst_jssrc = get_stylesheet_directory_uri() . '/js/custom.js';
      wp_enqueue_script( 'nst_custom_js', $nst_src , array(), '1.0',  true );
}
add_action( 'wp_enqueue_scripts', 'nst_custom_js' ); ?>
Now you can add your custom scripts in your new file. 🙂
Just contact me if you still need help regarding this or any other issues.
Thanks 🙏