To add a new post in WordPress, follow these steps:
- Log in to your WordPress dashboard: Go to your WordPress website’s admin panel by visiting: https://www.yourwebsite.com/wp-admin/. Enter your username and password to log in.
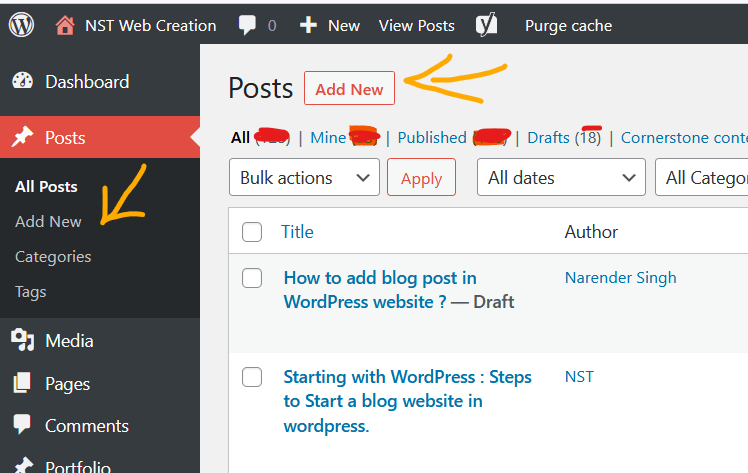
- Access the “Posts” section: In the WordPress dashboard, you will see a menu on the left-hand side. Look for “Posts” and click on it. This will take you to the posts management section.
- Click on “Add New”: Once you are in the “Posts” section, you’ll see a button labeled “Add New.” Click on it to start creating a new post.
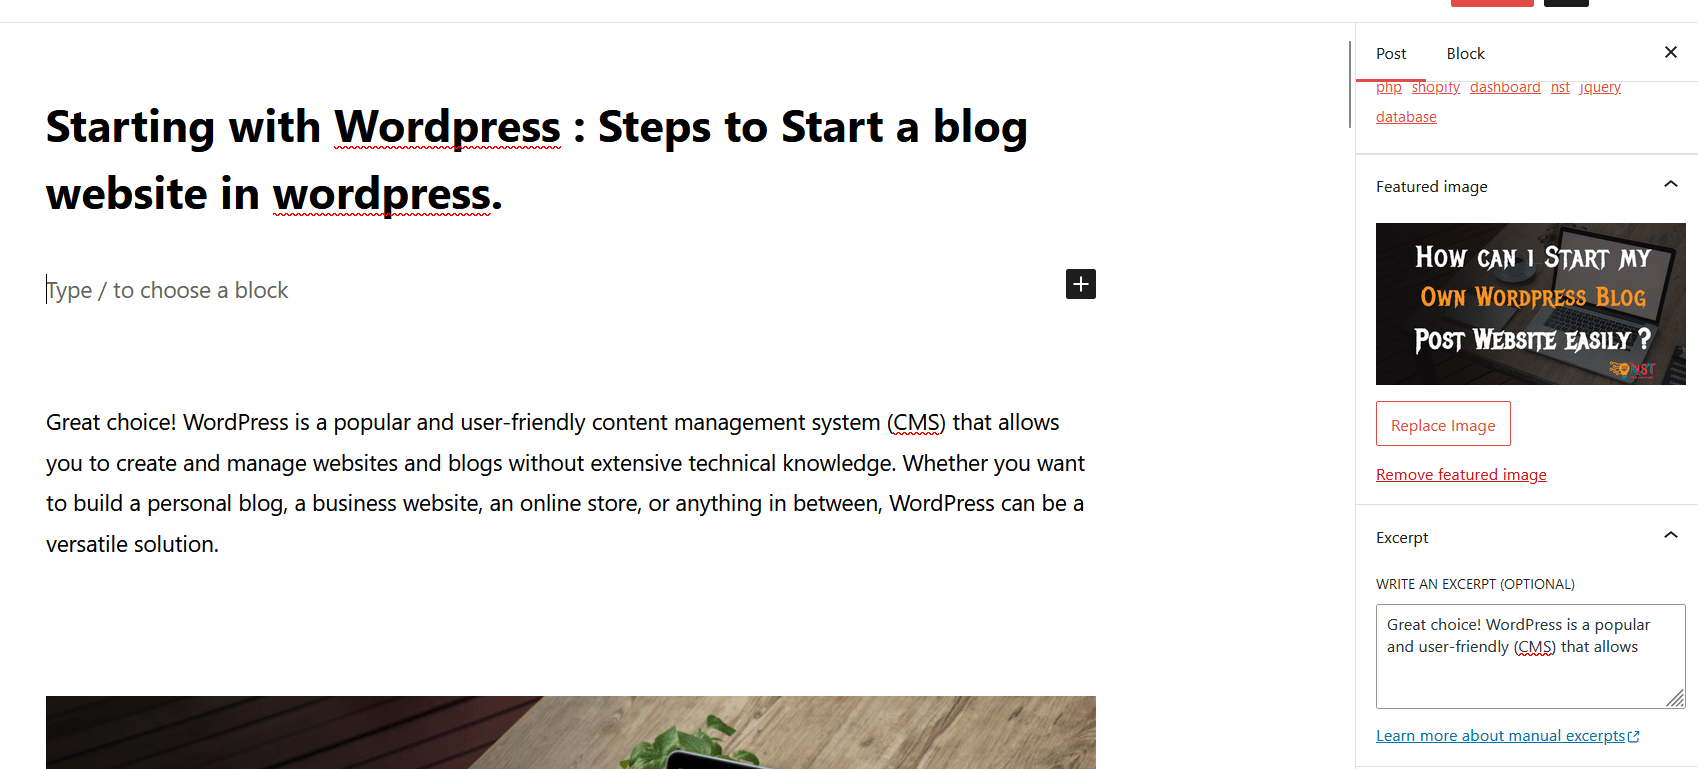
- Enter the post title: In the editor, you’ll see a field where you can enter the title of your post. Type in the title you want to give to your new post.
- Write the post content: Below the title, you’ll find the main editor area. This is where you can write your post content. You can use the visual editor, which is similar to using a word processor, or you can switch to the “Text” tab to write in HTML if you’re familiar with it.
- Format your content: Use the editor’s formatting options to create headings, apply bold/italic text, add lists, insert media (images, videos), create links, etc. The editor toolbar contains various tools to help you format your content.
- Set post categories and tags (optional): On the right-hand side of the editor, you’ll see options to assign categories and tags to your post. Categories help organize your posts, and tags are like keywords that make it easier to find related content.
- Set featured image (optional): In the right sidebar, you’ll find an option to set a featured image for your post. This image represents your post and is often displayed on your website’s homepage or archive pages.
- Save your draft: While creating your post, it’s a good idea to save it as a draft periodically. Look for the “Save Draft” button on the right side of the editor or the “Save Draft” option in the “Publish” meta box.
- Preview your post (optional): To see how your post will look on the website before publishing, you can click the “Preview” button. This will open a new tab with a preview of your post.
- Publish your post: Once you’re satisfied with your post, click the “Publish” button. Your post will be live on your website for your visitors to see.
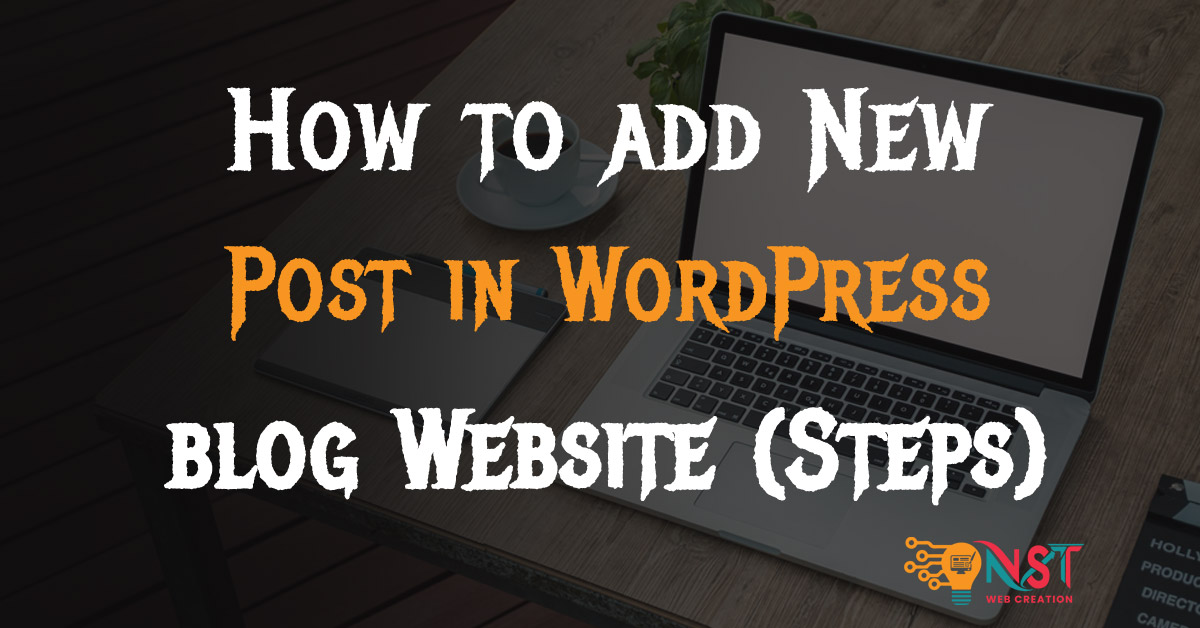
Dashboard of post editor will be something like this if you are using default editor .. if you are using Elementor etc then this window will be different.
If you need any further help please contact me with contact form or chat box or other way i added in the website.
Thanks 🙏